Tuesday, January 31, 2012

January NewFO


I absolutely fell in love with Barbara's NewFO idea for the 2012 year - it is OK to start something new!! And with my plans for no large quilts - just a year of small fun projects - it just fit. It was 'the wind beneath my wings' and I did soar.


Marcia's scrap block challenge did stir me and I have a flimsy to quilt.


The Pleasant Home - scrap challenge resulted in this lovely Picnic Quilt (flimsy to be quilted), table mat and mug rug (done) and a Dresden Mini (done).


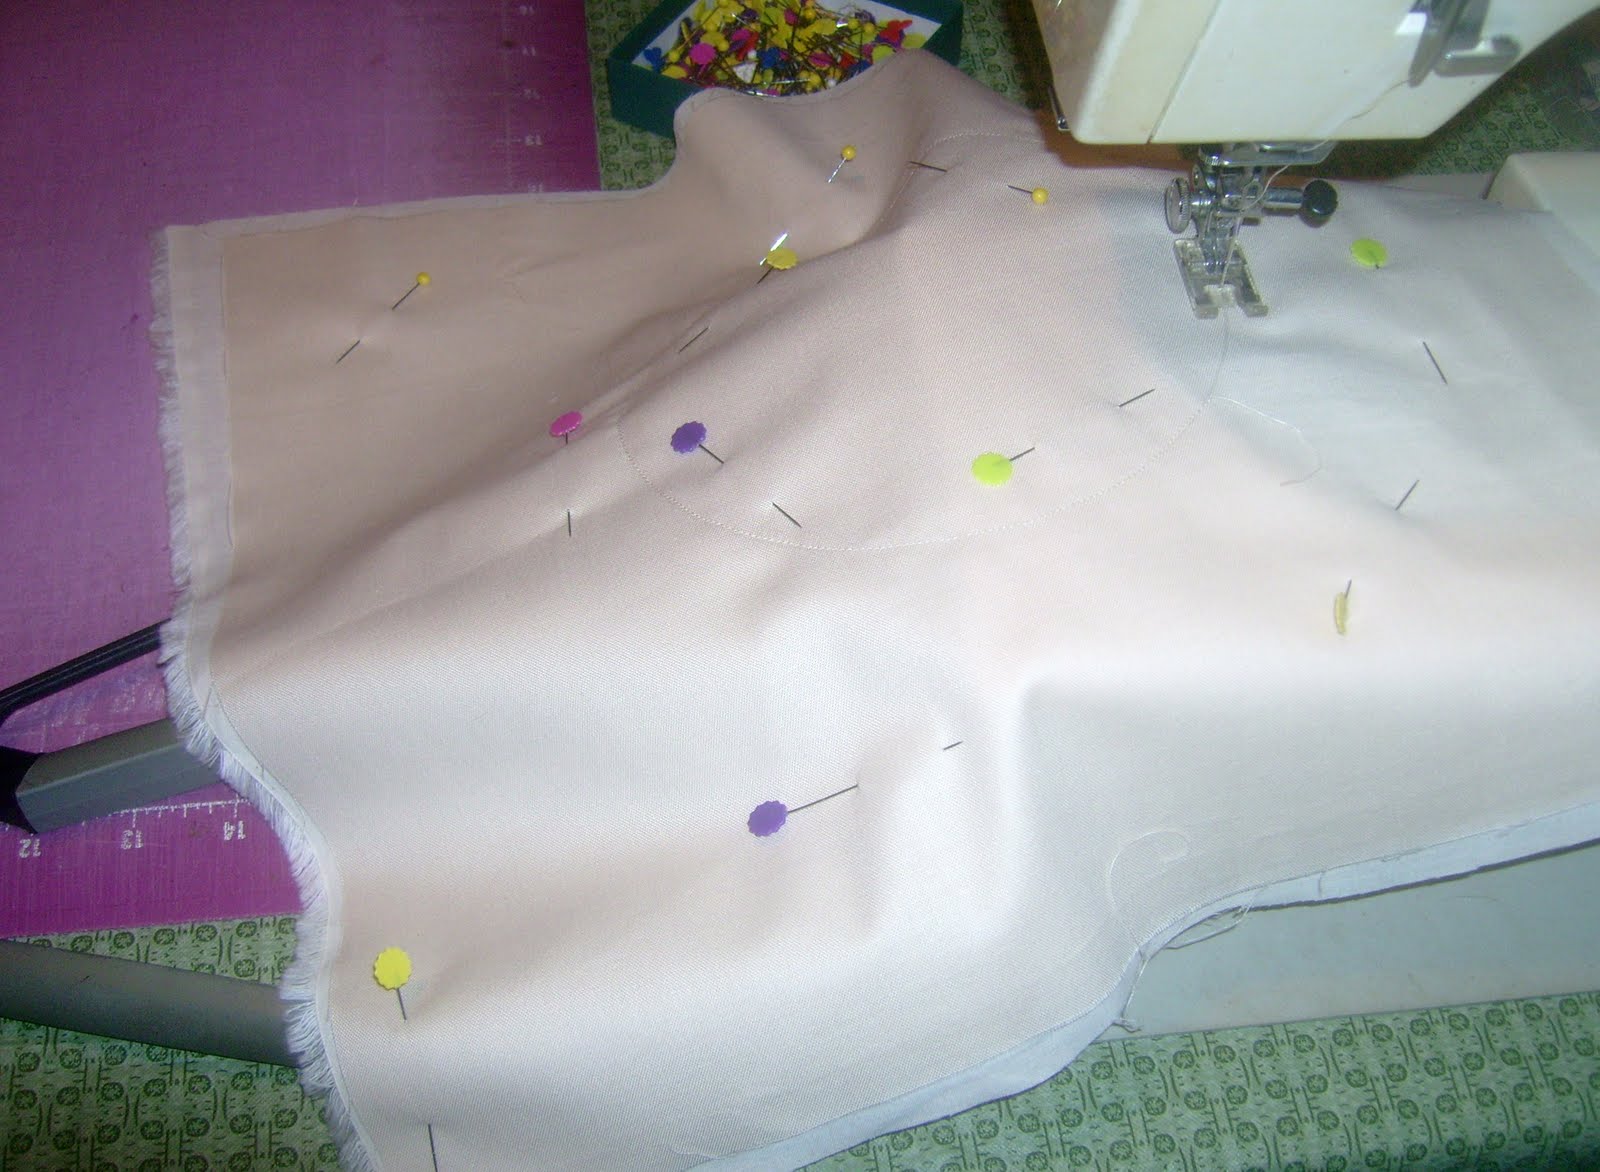
A self challenge - received a bag of scraps from a Quilt Guild member and set off to see how many projects I could come up with. This birdhouse mini, house/tree mini, a few note cards, and a baby quilt (in progress) - I think another mini wallhanging can be squeeked out with the scraps from the scraps! They do multiply!!


It helped me to decide to join in with the year of Schnibbles and the first one was 'Full House' - so perfect as I love house blocks. OH and I loved the year of little houses - so 31 little houses are nestled in box with a bag of scraps from the month's projects - yes, building houses from the year's scraps for another quilt.


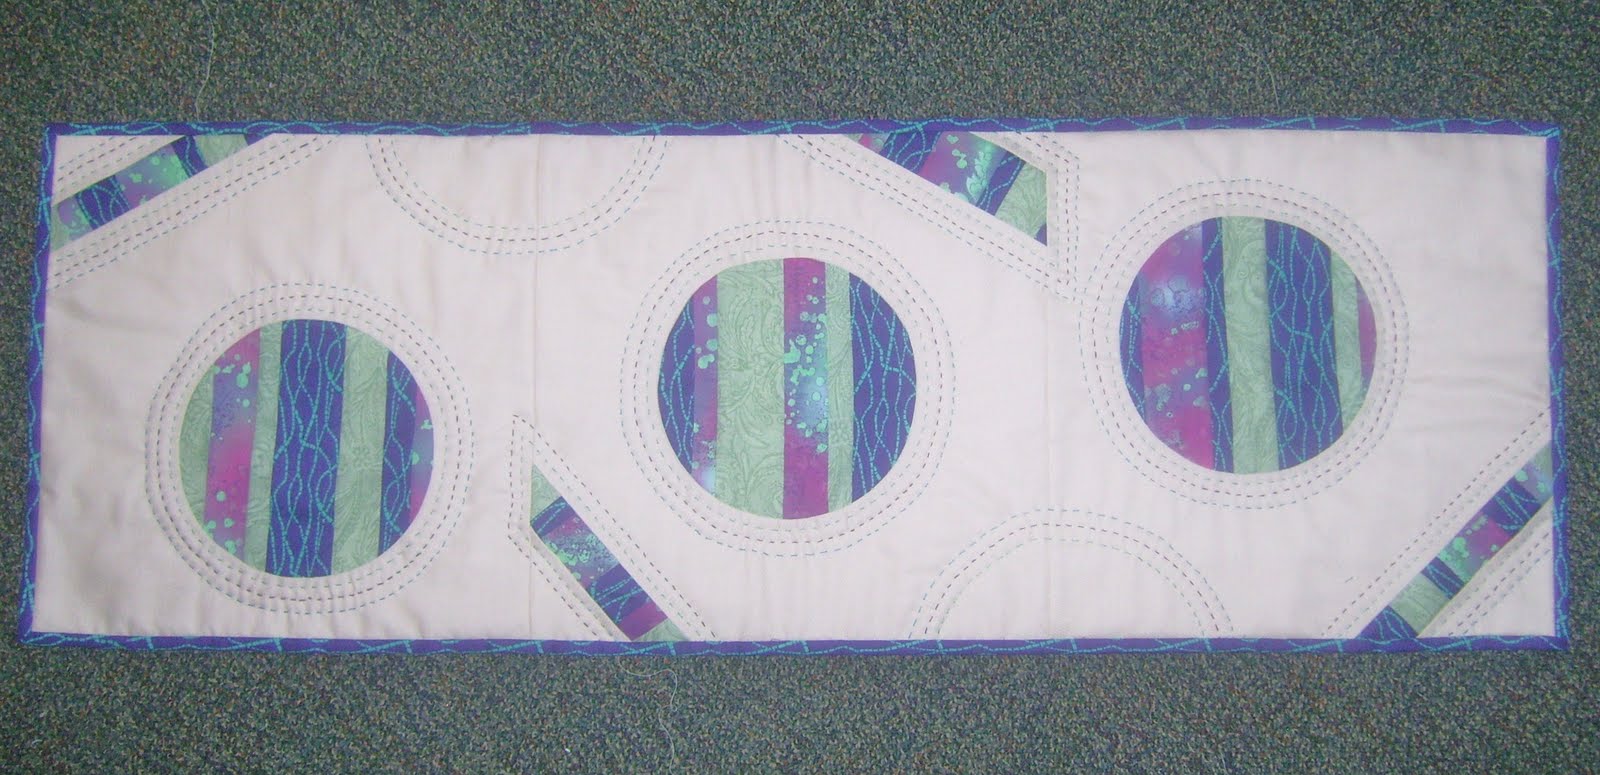
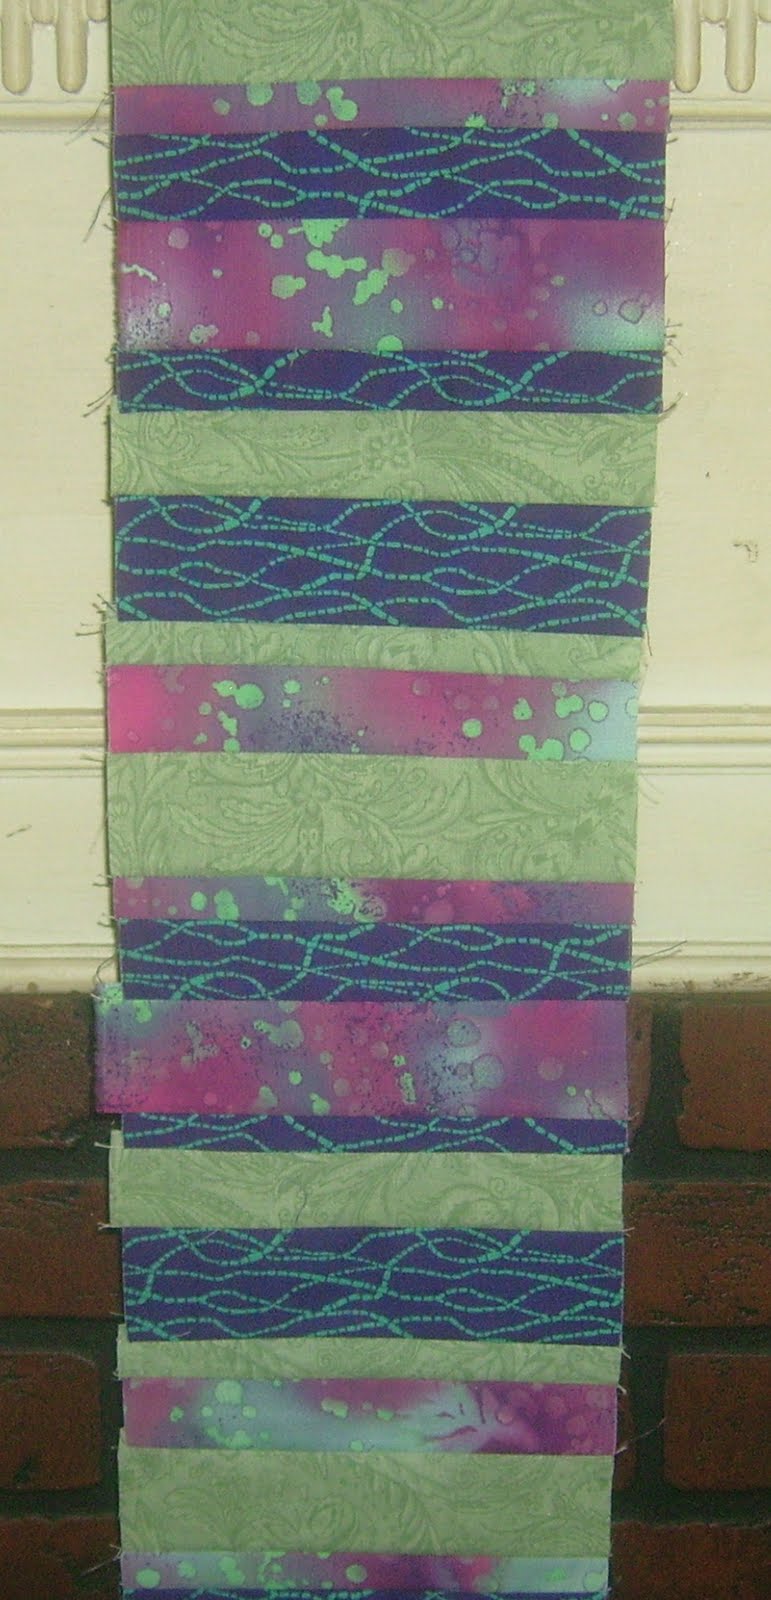
And the Color Palette Challenge is going to give ample latitude for a new project each month. I combined this with another group that has monthly technique challenges - so my color and circle project in one.


The Bust Yo Scraps showed up - this piece will be done as a leader/ender project and is slowly growing (I noticed one section turned the wrong way). It will help to tame those 1.5" squares that I just love to save. And the Made in Cherry has been fun - working it smaller with 2" squares to stay with my year of small projects.

And of course there are the cross stitch ornaments - at least one a week - and some other mini wallhanging pieces being done.

Oh - the FMQ Challenge - good practic and can be used on the NEWFO pieces that are evolving.

January has been a productive and fun month. I look forward to what February brings. I will be linking up with Barbara at CatPatches. I hope you take a visit and see what others have done with their NewFO year.

Sewingly Yours,
Sharon

Sunday, January 29, 2012

Puzzling


Quilting is a puzzle - trying to find the pieces, fit them into their correct spots, pondering the the final solution. When we quilt, do we see the whole puzzle? Do we find the right pieces? Will it fit into the correct spot? Do we start in the center? Do we look for all the same colors - the connecting colors? Do we start with the border? Ah, all in the name of creativity - it surely is puzzling!

DESIGN WALL


I played with the last bits of pieces from that little scrap bag from a quilt guild member. A double 4-patch with some left over muslin. Now to find that puzzle piece - some border fabric in that scrap tote, then maybe another border of muslin - do I add to the puzzle and use all those little pieces and bits into a scrap border to find the solution?


The next puzzle I am working on is the Made In Cherry Quilt Along. I decided to dump my puzzle box - that pre-cut barrel of 2" squares that was SO STUFFED! I sorted my puzzle pieces and found an abundance of reds. Now to decide what the background color will be - white, red, black or totally different - aqua???? Ah, it is a puzzlement.


I had to lay out all my little house pieces of the puzzle. I would like to start sashing up into 4'sies (with corner stone). So the puzzle works on with what color to go with. I know I like the idea of a brick red for the corner stones, but what for the sashing? I think from now on I will just show these once a month - or you will get sick of them.

Linking these up with Judy at PatchWork Times.


FMQ CHALLENGE


I have been very bad in keeping this together into the same 'puzzle box'. I kept practicing with drawing and found I was too small with the leaves and would just lose the path - the mind couldn't follow the puzzle - by hand or machine. So I tried larger, which was better - like a child starting with one of those 12 pieced puzzles. But I found that adding some loops and meandering helped to stay with flow. Oh, golly I cannot find that practic sandwich piece (there were 3 more sandwich) - I lost part of the puzzle. Does that happen to you?

Linking up with Sew Cal Gal.


MINUTES FOR ME


A few posts back I showed some fabric fortune cookies that I made from this tutorial found here for my quilt guild. This is the layout of all the puzzle pieces - basic start of cookie, heart traced on square and little 'quilter's fortune' on paper rolled for stuffing. They were handed out at our last meeting with a challenge to design your own 'Funny Valentine' (no bigger than 18" square). You had to use that little heart in any applique style in your piece.


Well this is the puzzle I found with all those pieces. My little heart? Why look upside-down, it is the puppy's muzzle. I chose fused, raw edge applique for this project - AND lots of 3-D embellishing. A new name tag - it's 4.5" square, my little puzzle.

Linking this up with Marcia's Minutes For Me. Yes, fun ME time with my 'Funny Valentine'.


OH MY WEIGH


My one step with Annie's OMW was to schedule regular mealtimes - made that placemat and mug rug. The next step was to build on that step. I need to add more protein in my diet, so researched high protein foods. Protein promotes tissue growth and repair, red blood cell growth and aid antibodies to resist infection, and regulate enzymes and hormones. Lima Beans, Kidney Beans, Okra, Spinach, Sweet Potato, Tomato, Eggs, Fish, Peanut Butter, Milk - pieces of my food puzzle. Fiber added in the form of high fiber cereal and whole grain bread. I thought I could use my crock pot in assisting with my dietary puzzle - fizzle, spark, and smoke - it died!! So my new crock pot. I think I need to make a pretty cover for it - don't you?

CLOSING THOUGHT


'A cat is a puzzle, for which there is no solution'
- Hazel Nicholson -

Sewingly Yours,
Sharon


Thursday, January 26, 2012

Going in Circles - Tutorial


This table runner was made for the Color Palatte Challenge as well as a 'sewing curves' challenge - two challenges in one project - just have to love it. This tutorial is to show how I set-in those circles using a technique that my mother has taught for over 40 yrs. so the only source I have of origin is her. There are many other ways to sew in a circle, but I struggled - this really worked for me because I acheived true circles instead of 'eggs'.


Because this was a color challenge with Patchwork Times, I made a stratta of my chosen colors, but you can use a single piece of fabric. Determine the size circle you want/need and be sure to add at least 1-2 inches extra to give you plenty of stitch room. You can work with a square of fabric - no need to cut another circle.


I used a Kona Snow for my background and a muslin for the back (for making the circle piece only). I found the lightest weight muslin works best because you will have these two fabrics as your top - then when you assemble the piece you have your batt and backing - so you want to keep the bulk down. I was working with a 12" square for the finish and started with a 14" square for stitch take-up allowance. Place your top fabric and your muslin right sides together - pin to hold. Now easy peasy - I used a coffee can (Large can) for my template - they are 6" circles which is what I was playing with - super! And trace your circle - add a few more pins if necessary.


Now carefully stitch around on that tracing line - I set my stitch just a little smaller than my usual seam usage as this will give you a smoother turn and strength of edge. Go slow - even lift you presser foot if you need to so you can work on the line rather than 'tugging' the fabric around.


Take a snip in the center and trip that inner circle away - I left a 1/2" to give me lots of room for the next step. Clip around that circle close to the stitch line - be careful not to clip your stitching!! Once that is done - turn your piece around. This part was hard to photo because it just made a confused mess which would make you scratch your head, it is simply turning the piece inside out, you just have all open ends so it looks a little odd.


This is what you have after the turn - this is not even pressed yet, so you can see how perfect that circle comes out. If you have any lumps or oddities - flip it around again and fix that area with a few more clips. Press your piece - Press don't Iron!! We don't want to distort our wonderful work.


Now lay your accent fabric under your circle piece. Doesn't that look pretty already?


Now carefully, and a little area at a time so you don't disturb your setting - pin along the clipped seam area to hold your accent fabric in place for sewing. Don't be afraid to take your time and use lots of pins, because we don't want our accent fabric to slip and we will be stitching slowly the next step.


Now we are going to stitch just a thread to the left of our previous stitched circle line - so yes, we are going slow. By stitching to the left side, you are sure to hide that previous thread line and reduce bulk in a seam. Remember - GO SLOW!


This is the back - now you can trim away any extra accent fabric - You do NOT have to clip this like your circle as it is just a flat piece!


Pin your muslin and top fabric to hold, then square up your block. You are now ready to add your other blocks. I kept these pinned throughout just so that muslin would not slip.


OPTIONAL - I had stratta to use for more accent and I had set my cirles at various areas of each square - so needed some 'fill'. Simply cut off a corner, stitch your strip and the trim to size desired - or leave as the corner.


If just a strip - stitch the corner trim and square up that corner for finished block.


And once your piece is all assembled - quilt as desired. Hate that term, but since I had a lot of open clean space and this was a play on color - I used some matching color floss and large stitched around my circles and 'zip strips' for more design fun.

If you've had trouble with circles - here is an option. And if you try this and have questions, please don't be afraid to ask.

Sewingly Yours,
Sharon

Wednesday, January 25, 2012

Cut the 'S-Craps'


The tutorial for the in-set circles is being delayed until Friday as I want to get the word out on this exciting NEW project being set up by Sarah over at Confessions of a Fabric Addict. Using the newly release book by Joan Ford and published by The Taunton Press, she is taking the idea of taming those scraps using 5", 3.5", and 2" squares and the challenge of designing a block for their Ministry to use in their lovely quilts donated for those in need.

Go over to Sarah's and read the instructions, challenge info, and YES offered give aways. She needs you to comment on your confirmation and will be hosting a link up for your block(s) February 8th - COME ON - one block is so easy. So you aren't a designer - hey - you never know until you try. And there are some lovely prizes. And just a side thought from my left brain, wouldn't it be nice to send those blocks to Sarah to be used in a quilt.

So go vist Sarah, give her a sign-up, and help spread the word with your own blog post.


TRAVELING STASH WINNER


The box will be traveling on to Barbara of Cat Patches. I will be contacting her for info and promise to keep you all informed of the next move. ****Ali at A Squared is posting for Box#2 - comments close this Friday so hurry and get over there and leave your comment if interested in this box.****

Sewingly Yours,
Sharon


PS - Happy Australia Day !!!!!

Sunday, January 22, 2012

Off the Wall/On the Wall

** PHOTO REMOVED **

I have no design wall - so things get pinned to the mantel, pinned to the wall, pinned to the louver doors, almost any where. It was so time to get those last few steps into a finish so I could clear the walls - so I could put something new up!

OFF THE WALL


Little houses of a different nature - with other bits - were pinned all over - time to pull it all together.


This is my interpretation of 'Full House' Schnibbles for January. I've done enough wallhangings already, so decided to put it into a table runner. I must say, I like this fabric line for building houses - Moda's 'Coming Home' just worked well with this. And by using from a Jelly Roll, I have lots of strips left to play with something new.


I can't show all of this piece because it is for a swap and it will identify who it is for - it's a secret. This is for the Initial Heart Swap and I finally got inspired how to finish this off when I stumbled on that lovely aqua/heart fabric in one of my FQ tubs.


And in putting away some cross stitch magazines, these two fell out - not finished. So two more ornaments done for gift giving.


For the Oh Weigh Me program - Annie asked us to work 'one step' and then share it. Living alone, my most single problem is scheduled meals that I sit to a table to enjoy. So I used the little projects shared on Sew Scrap Along to make a Court House Step block placemat and scrap patch mug rug. Yes - junk food print fabrics - what better! The other side is a pretty Penn. Dutch flower print, so I can reverse them for another look. I'm hoping these will aid me in keeping my one step by having a pleasant place to dine. I will also link this up with Minutes for Me with Marcia.

ON THE WALL


Now I can put something new up. This is the project 'Bust Yo Scraps'. Cute pattern, but I am doing it up in 1.5" squares for the setting triangles and geese. I still have that in various stages as I assemble the parts as my leader/enders. Some are in a barrel, tupper ware, table, by the sewing machine, and on the ironing board. I think I need a day I just 'get it done'! I will be linking this project up with Judy - Patchwork Times.


And this mess represents how I work and play up a design - my February mini for my Ackfeld table hanger. Still in the rough stages, but for sure will be pinned around the walls until complete.

JERI'S QUILT


As promised - this is my SIL's first quilt - finished! Yes, parts of that was pinned on a wall or two at times. I did the straight line quilting and the hand sewing down of the binding - this is her baby! For her new Great Niece due on Valentines Day.


I did a test flower set (another fabric and color) to see if they were proper size - luckily the first ones hit the mark and I'll use them on some other project. I love her choice of the black/white dot with the flowers - it pops the quilt.


And I made her label it - made up some samples, gave her my pen-tex fabric pencils with some instructions, and let her play. Once she had the technique and the label chosen - done and set into the corner to catch in the binding.


And being the scrap quilter - couldn't let those extra pieces sit. So she made a matching pillow. Now she has a lovely shower gift - and yes, we are already talking next project!

200TH POST WINNER


No extra pictures (batteries about to go - last ones) we went thru the draw and photo'ed with the box ready to ship. KoCan Quilt is the winner of the box of 2.5" squares. I will be sending her a personal e-mail, also. Thank you for playing along - there will be another give away with Valentines Day.

CLOSING THOUGHT

I've been too serious lately, and I am more of a jokester person, so...

Q: What did one wall say to the other wall?
A: I'll meet you at the corner.

Sewingly Yours,
Sharon

Friday, January 20, 2012

Traveling Stash is Ready


Well after moving that poor box - it sort of dissintergrated - so I went thru things - a lot of fruits and vegie fabrics, especially fall/pumpkins.


Some odd bits, strips and parts from panels


Various florals from FQ size to yard cuts.


A few pieces of juvinile/baby panels, FQ size and cheater cloth.


Some patriotic fabric (about a yrd. of broad cloth) and pieces from a panel - not sure what fabric content it is, but not 100% cotton.


And way too many books and patterns - it's called traveling stash, not empty your library! This is why the one box had to be split, too much of this instead of fabric.


Some templates and notions.

THIS IS WHAT I CHOSE


The extreemly heavy, large, thick "Think Pink" book just to make room in the box, but I know someone who makes quilts for donation/raffle for the Susan Komen 'For A Cure' and she will put this to good use. The Mini Charmer bag pattern and little stitcher by Bareroots. The Patriotic pieces my Mom will use and removes the non-cotton from the box. All the small pieces and scraps - they will work for me in my tinies - not really useable for anything else. And all the apple prints from the fruit/vegie pile. The baggie of Sip of Summer Charms from CT. And the thread.

WHAT I AM PUTTING IN THE BOX


2 FQs of little heart prints for Valentines, and 2 FQs of spring daisies - spring is around the corner.


A Canston Village little yellow rose print on grey and yellow pin dot - 1 yrd each. (or more)


1 yrd. of 'Make Live' by Sweetwater for Moda.


A strip from a panel - 3 antique cars - great size for pillows. The black is a map of our county - if you can find Schoharie, I'll wave.


This cute owl panel from Timeles Treasure - I love bird fabric, but not seeing me using this.


This lovely panel of 'Coming Home' by Deb Strain for Moda - I had two of these????


I thought the juvenile pile needed adding to, so about 1/4 to 1/2 yrd of some cats, dogs, and paws.


And since I took all the Metler thread - replacing with various color Aurifil and a basic set of Essentials from CT.

RULES FOR ENTERING

*** this is the origin of the box ***
here


I see this box does not have the rule and guide line sheet that was with the original box, also a log sheet that everyone was to fill in with blogger info that the box passed on to. So I will be making one of those up.

1. You must be an active blogger.
2. When you receive the box, post a blog spot on it's contents, what you took and what you are putting in - in a timely manner.
3. Replace per deim - if you took 4 yrds of fabric, replace it with 4 yrds. of fabric - quilt quality fabric. AND this is a traveling stash - don't empty your library! (lets get some of these books and patterns cleared - if you take one - replace it with a FQ or two)

****AUGG - I forgot - I will post the winner on Jan 26th (Thursday)

Due to postage and customs - can only mail in the United States.

No jumping thru hoops, just leave a comment and good luck,

Sewingly Yours,
Sharon